Seed saving transforms your garden from a yearly expense into a self-sustaining resource, cutting costs while strengthening the resilience of your plants season after season. The most compelling reason to start? Each time you save seeds from your best-performing plants, you’re essentially breeding a custom variety adapted to your exact soil, climate, and growing conditions. A tomato that thrived in your backyard will produce seeds programmed with that success.
The practice also breaks your dependence on seed companies and grocery stores, a freedom that feels especially valuable when supply chains stumble or hybrid seeds stop performing as promised. Beyond the practical payoff, you’re joining a tradition thousands of years old, one that safeguards heirloom varieties disappearing from catalogs every year. Whether you’re troubleshooting poor germination from store-bought seeds or simply want tastier tomatoes and crunchier cucumbers, understanding seed saving’s benefits helps you decide if this technique belongs in your garden toolkit. The process itself is simpler than most beginners expect, requiring little more than letting certain fruits fully ripen, drying the seeds properly, and storing them in cool, dry conditions.
Understanding What Makes Seed Saving Worthwhile
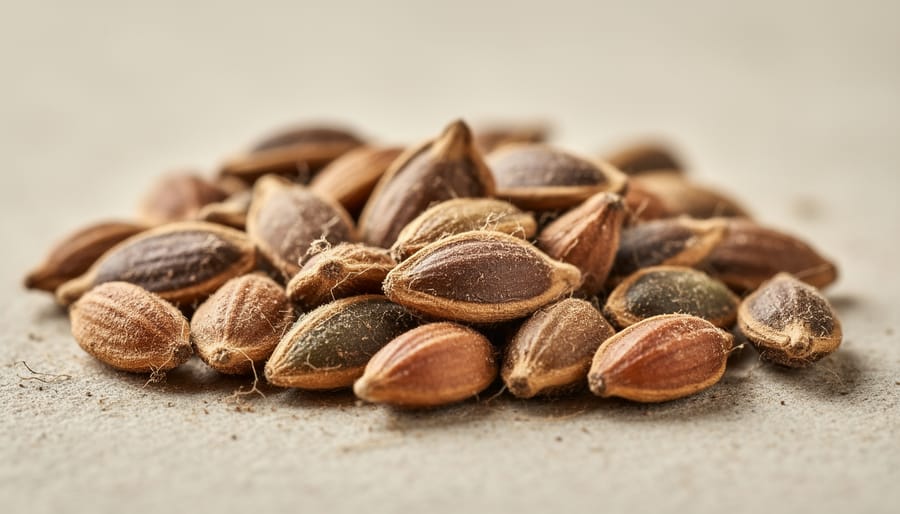
You may already be experiencing the signals that seed saving should become part of your gardening routine, even if you haven’t connected the dots yet. Have you noticed that the seeds you buy from big-box stores seem less vigorous than they used to be, with patchy germination and weaker seedlings? Maybe you’ve hunted for a specific heirloom tomato or bean variety that your grandmother grew, only to find it’s no longer available anywhere. Or perhaps you’ve felt the sting of spring seed shortages, when everyone rushes to order at once and your favourite varieties sell out before you can place your order.
These aren’t just minor inconveniences. They’re symptoms of a deeper problem: your garden lacks the self-sufficiency and genetic continuity that seed saving provides. When you depend entirely on external seed suppliers, you’re vulnerable to their business decisions, supply chain disruptions, and shifting market trends. The varieties that thrive in your specific microclimate might disappear from catalogues without warning. That perfect paste tomato that produces reliably in your short growing season could vanish because it doesn’t sell in enough volume nationwide.
The good news? Each of these frustrations points to an opportunity. Once you start saving seeds from your best-performing plants, you’ll build a personal seed bank tailored to your exact conditions, immune to market whims and supply shortages.
The Core Reasons Seed Saving Matters for Your Garden
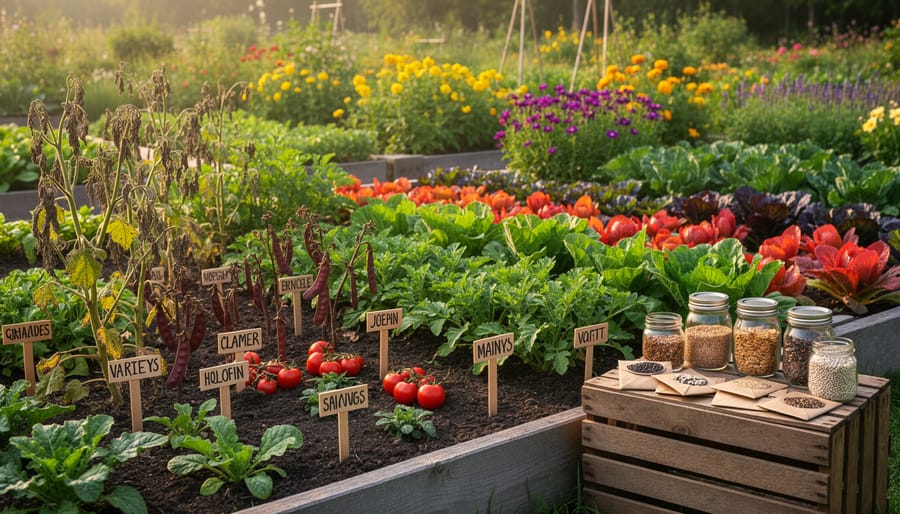
Genetic Diversity and Plant Adaptation
When you save seeds from your best-performing plants each season, you’re essentially conducting natural selection in your own backyard. Plants that thrive in your specific conditions, whether that’s heavy clay soil, a short growing season, or intense summer heat, pass those adaptive traits to their offspring. Over time, your saved seeds become increasingly suited to your garden’s unique challenges.
This process works because plants saved from your garden have already proven they can handle your local stresses. A tomato that survived your late spring frosts carries genetic information about cold tolerance. Beans that flourished despite your alkaline soil develop better nutrient uptake for those conditions. Each generation becomes more resilient, improving adaptability to microclimates that commercial seeds simply can’t match.
The benefits of seed saving extend beyond simple cost savings, you’re creating a living library of plants that understand your garden. Understanding how soil affects plants makes this even more powerful, because your saved seeds learn to work with your specific soil chemistry year after year. Within three to five generations, you’ll notice stronger germination, faster growth, and better yields compared to store-bought seeds.
Economic and Self-Sufficiency Benefits
Producing your own seeds transforms a one-time seed purchase into years of free planting material. A single packet of tomato seeds might cost $4-6, but saving seeds from just two fruits can yield 50-100 seeds for next season, essentially eliminating that annual expense. Over five years, this compounds dramatically across multiple crops.
Beyond direct savings, seed saving creates independence from supply chain disruptions. When commercial suppliers run out of specific varieties or discontinue favorites, your personal seed bank ensures continuity. You’re no longer vulnerable to price increases, shipping delays, or limited availability during peak planting seasons.
This self-sufficiency extends to bartering opportunities within gardening communities. Excess seeds become valuable trading currency for varieties you don’t grow, expanding your garden diversity without spending money. Many gardeners report their seed-saving practice eventually funds itself through informal seed swaps and local exchanges.
The compounding effect matters most for dedicated gardeners. While the first year requires modest investment in storage containers and labels, subsequent seasons deliver pure savings, your initial $30 seed order can potentially supply your garden for a decade or longer with proper seed-saving practices.
Cultural and Environmental Preservation
When you save seeds from heirloom tomatoes or century-old bean varieties, you’re doing more than gardening, you’re acting as a living seed library. Many heirloom vegetables carry stories spanning generations, yet an estimated 94% of historic seed varieties have disappeared from commercial availability since 1903. Commercial seed companies prioritize uniformity and shelf life over flavor diversity, pushing unique regional varieties toward extinction.
By saving and replanting heirlooms, you break the cycle of dependence on corporations that control most of the world’s seed supply. You also reduce the environmental footprint associated with industrial seed production, packaging, and shipping. Every packet of seeds you harvest yourself is one less plastic envelope manufactured and trucked across the country. Perhaps most importantly, you preserve genetic material adapted to local conditions, traits that took decades or centuries to develop and might prove essential as growing conditions shift.
How to Start Saving Seeds Successfully: A Step-by-Step Approach
Choosing the Right Plants for Seed Saving
Start with beginner-friendly crops that practically guarantee success. Beans, peas, lettuce, and tomatoes top the list because they self-pollinate, meaning you won’t accidentally end up with surprise hybrids. Look for seed packets labeled “heirloom” or “open-pollinated”, these produce offspring identical to the parent plant. In contrast, F1 hybrids (marked on packets) won’t breed true; their seeds create wildly unpredictable results.
The distinction matters more than you’d think. While open-pollinated seeds stay true-to-type across generations, hybrids revert to random parent traits, wasting your effort. Check catalog descriptions carefully, companies usually specify pollination type right in the variety details.
Once you’ve mastered these foolproof starters, branch into squash, cucumbers, or peppers using organic seed saving techniques that handle their trickier cross-pollination habits. Your first season should build confidence, not frustration, so resist the temptation to save seeds from every plant in your garden.
Timing Your Seed Harvest Correctly
Timing is everything when it comes to seed viability. Harvest too early, and your seeds won’t have the energy reserves needed to germinate. Wait too long, and they might scatter to the wind or rot in autumn rains.
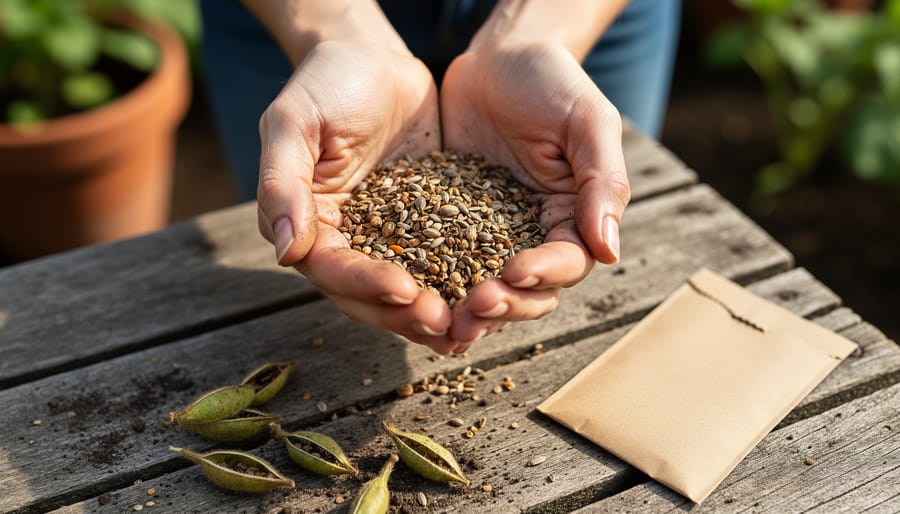
For most vegetables, seeds reach peak maturity after the fruit or flower has passed its edible stage. Tomatoes should be fully ripe (even slightly overripe). Lettuce and herbs need to bolt completely, developing dry seed heads that rattle when shaken. Beans and peas should remain on the plant until pods turn brown and brittle.
Watch for visual cues: seeds typically change from green to tan, brown, or black when mature. They’ll feel hard between your fingers, not soft or squishy. The seed capsule or pod will often crack open naturally, signaling it’s time.
Harvest on a dry day after morning dew has evaporated. Moisture trapped during collection leads to mold during storage. Cut whole seed heads or pods into a paper bag, or gently strip seeds directly into a container. If rain threatens before seeds are fully dry on the plant, harvest the entire seed head and finish drying indoors.
Cleaning and Preparing Seeds for Storage
Once you’ve harvested your seeds at the right time, proper cleaning and preparation become critical for long-term storage success. The method you use depends on the seed type.
For dry seeds like beans, peas, and lettuce, simply break open the pods or seed heads and separate the chaff from the seeds. You can use a fine mesh strainer or gently blow away the lighter debris while the seeds remain in a bowl.
Wet seeds from fleshy fruits require different handling. Tomatoes, cucumbers, and squash seeds benefit from fermentation, a natural organic process that removes germination inhibitors and disease organisms. Scoop the seeds with their surrounding gel into a jar, add a small amount of water, and let the mixture sit at room temperature for two to four days, stirring daily. When a layer of white mold appears on top, the fermentation is complete. Rinse the seeds thoroughly in a fine strainer until clean.
Regardless of your cleaning method, seeds must be completely dry before storage. Spread them in a single layer on paper plates or coffee filters in a warm, dry location with good air circulation. Test dryness by trying to bend a seed, if it snaps rather than bends, it’s ready.
Storing Seeds for Long-Term Viability
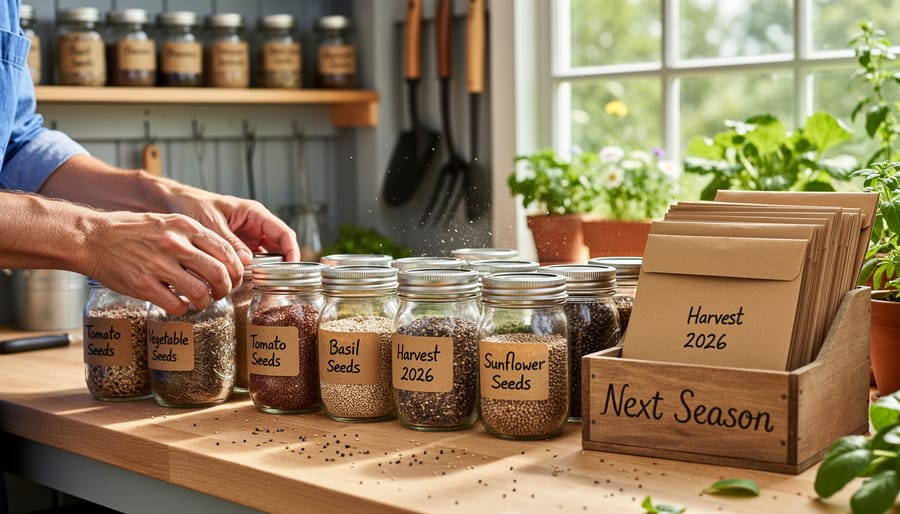
Once your seeds are thoroughly dry, proper storage determines whether they’ll germinate next spring or become compost. The goal is to protect them from moisture, heat, and light, the three enemies of seed viability.
Label each seed packet immediately with the plant variety, harvest date, and any special characteristics you noticed. Trust me, you won’t remember which tomato was which come spring. Use pencil or permanent marker, as regular ink can fade.
Store seeds in paper envelopes, small glass jars, or coin envelopes inside an airtight container. Paper “breathes” slightly, which helps prevent mold if any residual moisture remains. Place a food-grade silica gel packet in your storage container to absorb excess humidity.
The ideal storage spot is cool (32-41°F), dry (less than 10% humidity), and dark. A basement refrigerator works perfectly. If you’re using your kitchen fridge, keep seeds away from the door where temperature fluctuates. Never store seeds in a garage or shed where temperature swings are dramatic.
Most vegetable seeds remain viable for 2-5 years under these conditions. Onions and parsnips are short-lived (1-2 years), while tomatoes and brassicas can last 4-5 years. Check germination rates annually by testing a few seeds on damp paper towels.
Essential Organic Seed Saving Techniques to Know
Mastering organic seed saving techniques ensures you maintain healthy, vigorous seeds without relying on synthetic treatments. These methods protect seed purity and viability while keeping your garden truly organic from generation to generation.
Understanding Key Organic Techniques
- Isolation Distance
- The physical space required between varieties of the same species to prevent unwanted cross-pollination, typically ranging from 10 feet for self-pollinators to half a mile for wind-pollinated crops like corn.
- Hand Pollination
- Manually transferring pollen from flower to flower using a small brush or cotton swab, giving you complete control over which plants cross and ensuring seed purity.
- Roguing
- The practice of removing off-type or diseased plants before they flower, preventing their genes from entering your saved seed population.
- Fermentation Method
- A natural process used for wet seeds like tomatoes and cucumbers where seeds soak in their own pulp for several days, killing seed-borne diseases while improving germination rates.
The relationship between pollinators and seed set becomes crucial when managing isolation distances. If you cannot provide adequate spacing, time-based isolation works well, plant varieties that flower at different times, or cover blossoms with breathable fabric bags before hand-pollinating them yourself.
Disease prevention starts in the garden itself. Select seeds only from your healthiest, most productive plants, never from those showing signs of wilting, spots, or stunted growth. This simple selection pressure improves your seed stock year after year while naturally weeding out disease susceptibility.
For crops prone to cross-pollination like squash or brassicas, caging individual plants with fine mesh creates a physical barrier. Once flowers appear, introduce trapped pollinators for a few hours or hand-pollinate, then seal the cage again. This technique maintains genetic purity even in small gardens where isolation distances are impossible.
Always allow seeds to mature fully on the plant rather than harvesting early, as incomplete development leads to poor germination and weak seedlings the following season.
Preventing Common Seed Saving Problems
Preventing seed saving failures starts with recognizing the four most common pitfalls and implementing targeted strategies to sidestep them before they compromise your harvest.
Cross-pollination poses the biggest threat to seed purity, especially with crops like squash, cucumbers, and brassicas. Plant different varieties of the same species at least 800 feet apart, or use physical barriers like row covers during flowering. If space is tight, stagger planting times so varieties bloom weeks apart. Hand-pollinating and immediately bagging flowers with fine mesh also works for small-scale operations.
Disease transmission through seeds can devastate future crops. Never save seeds from plants showing signs of bacterial spot, mosaic virus, or fungal infections. Consistent watering helps prevent stress that makes plants vulnerable to disease in the first place. For wet-seeded crops like tomatoes and cucumbers, the fermentation process naturally kills many pathogens, let seeds sit in their gel for three days before rinsing.
| Problem | Primary Cause | Prevention Strategy |
|---|---|---|
| Cross-pollination | Insects transferring pollen between varieties | Maintain 800+ foot isolation or use row covers |
| Disease transmission | Saving seeds from infected plants | Select only healthy plants; ferment wet seeds |
| Poor germination rates | Harvesting immature or improperly dried seeds | Wait for full maturity; dry to 6-8% moisture |
| Storage failures | Humidity, warmth, or light exposure | Store in airtight containers at 32-41°F in darkness |
Poor germination typically stems from harvesting too early or inadequate drying. Seeds should feel hard when pinched and snap rather than bend. Test moisture by placing seeds in a sealed jar overnight, condensation means they need more drying time. Store completely dried seeds in paper envelopes inside airtight containers with silica gel packets, kept in a refrigerator or cool basement away from light.
Frequently Asked Questions About Seed Saving
Gardeners just starting their seed-saving journey often have similar practical concerns. Here are answers to the most frequently asked questions that come up when people begin preserving their own seeds.
How long do saved seeds stay viable?
Most vegetable seeds remain viable for 2-5 years when stored properly in cool, dry, dark conditions, though some like onions last only 1-2 years while others like tomatoes can stay good for 6-10 years. Testing germination rates annually helps you know when it’s time to refresh your seed stock.
What are the easiest plants for beginner seed savers?
Tomatoes, beans, peas, lettuce, and herbs like basil and cilantro are excellent starting points because they’re self-pollinating and require minimal processing. These crops give you confidence-building success before tackling trickier plants that cross-pollinate easily.
Can I save seeds from hybrid plants?
While you can collect seeds from hybrids, they won’t grow true to the parent plant and often produce unpredictable results. Stick with open-pollinated or heirloom varieties if you want consistent, reliable plants that match what you originally grew.
What is seed swapping and how does it work?
Seed swapping involves exchanging saved seeds with other gardeners through local seed libraries, online communities, or organized swap events. It’s a wonderful way to access new varieties, preserve regional heirlooms, and connect with fellow growers who share your passion for seed saving.
These common questions reflect the learning curve every seed saver experiences. Don’t worry if you make mistakes early on, each growing season teaches you something new about timing, storage, and which varieties thrive in your garden. The seed-saving community is welcoming and generous with advice, so reach out to local gardening groups or online forums when you need guidance. Your question has likely been asked before, and experienced seed savers love helping newcomers get started.
Seed saving connects you to centuries of gardening tradition while securing your garden’s future. Whether you’re motivated by preserving heirloom varieties, achieving self-sufficiency, or simply stretching your budget, this practice offers tangible rewards that compound year after year.
Start small. Choose one or two beginner-friendly crops this season, lettuce, beans, or tomatoes are forgiving teachers. Let a few of your healthiest plants go to seed, harvest when they’re ready, and store them properly. You’ll quickly discover that each successful harvest builds your confidence and your seed library simultaneously.
The beauty of seed saving lies in its gradual transformation of your relationship with gardening. What begins as a practical skill evolves into something deeper: stewarding plants that perform better in your soil, saving money on seed packets, and participating in a living tradition that spans generations. Every seed you save is a vote for diversity, resilience, and independence.
Your garden will thank you for it. More importantly, you’ll experience the profound satisfaction of growing plants from seeds you saved yourself, a self-renewing cycle that starts with a single harvest.