Growing your first herb garden is easier than you think. You don’t need a sprawling backyard or years of experience to fill your kitchen with fresh basil, rosemary, and mint. All it takes is a sunny spot, some basic supplies, and the willingness to get your hands dirty.
Start with beginner-friendly herbs like basil, parsley, and chives. These three thrive in various conditions and forgive the occasional watering mistake. Pick up starter plants from your local nursery rather than seeds for your first season. You’ll see results within weeks instead of waiting months, keeping you motivated as you learn.
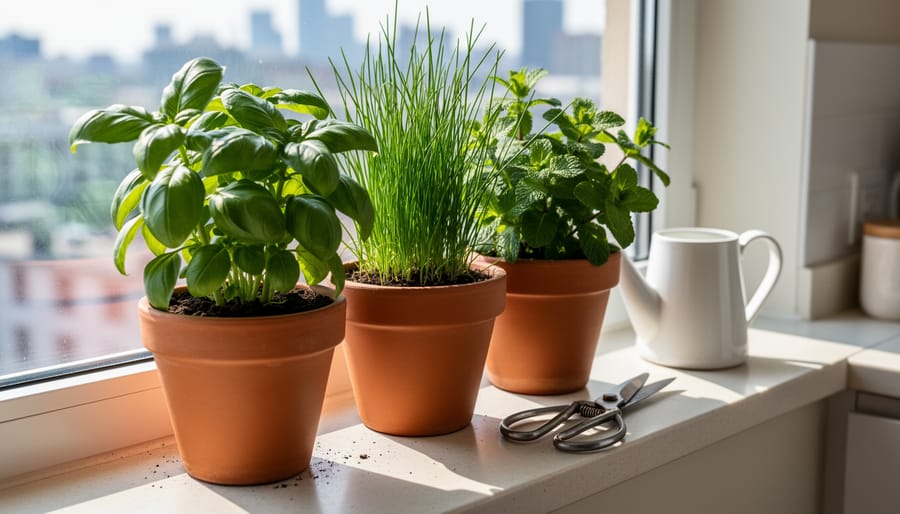
Most herbs need at least six hours of direct sunlight daily and well-draining soil. A small container garden on your balcony works just as well as a dedicated garden bed. I started my herb journey with three pots on my apartment windowsill, and within two months I was clipping fresh oregano for pasta night every week.
The beauty of herb gardening lies in its simplicity and immediate rewards. Unlike vegetables that require careful timing and patience, herbs grow quickly and respond well to regular harvesting. Snip a few sprigs for dinner, and the plant actually grows bushier and healthier. You’ll taste the difference between store-bought dried herbs and fresh-cut garden herbs after your first harvest.
This guide walks you through everything you need to know, from choosing your first herbs and setting up your garden space to daily care routines and preserving your abundant harvest. By summer’s end, you’ll wonder how you ever cooked without your own herb supply.
Why Herb Gardening Is Perfect for Beginners
If you’ve ever killed a houseplant or felt intimidated by gardening, herbs might just change your mind. They’re the ultimate training wheels for new gardeners because they actually *want* to grow. Most herbs thrive with minimal fussing, bouncing back from forgotten waterings and forgiving rookie mistakes that would doom other plants.
Speed matters when you’re starting out, and herbs deliver fast results. Basil shoots up in weeks, not months. You can snip chives for your scrambled eggs within days of planting. That quick turnaround keeps you motivated instead of wondering if anything’s happening beneath the soil. When you see growth this fast, you start to feel like maybe you *can* do this gardening thing after all.
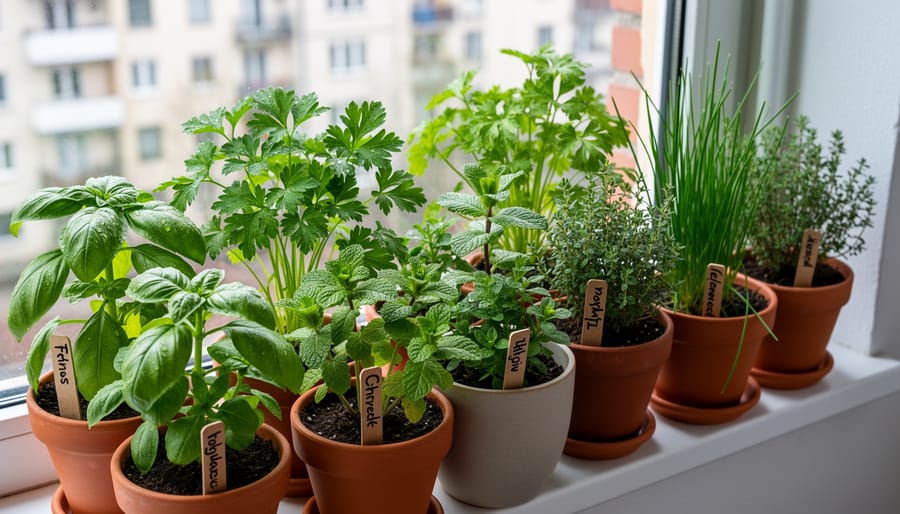
Space isn’t an excuse either. A sunny windowsill or small balcony is enough real estate for several herbs. You don’t need a backyard or raised beds, a few pots will do. That accessibility makes herbs perfect for apartment dwellers, renters, or anyone testing the waters before committing to a full garden.
The real magic happens when you use what you’ve grown. Tearing fresh basil leaves for homemade marinara, dropping mint into your iced tea on a hot afternoon, or sprinkling just-picked parsley over roasted vegetables, these small moments connect your effort to something tangible and delicious. You’re not just keeping a plant alive; you’re actually improving your meals.
University extension programs across the country recommend herbs as ideal starter plants because they’re among the easy-to-grow herbs that adapt to various conditions and require minimal specialized knowledge. That combination of forgiveness, speed, practicality, and immediate payoff makes herb gardening the perfect entry point for beginners in 2026.
Choosing Your First Herbs: The Easiest Ones to Grow
Starting your herb garden means choosing plants that will actually thrive for you, not collecting every variety at the garden center. The good news? Some herbs are so forgiving they practically grow themselves, making them perfect confidence builders for your first season.
Basil: Your Summer Kitchen Workhorse
Basil loves warm weather and rewards you with abundant leaves perfect for fresh caprese salads, pesto, or tearing over pasta. It grows fast, you’ll see progress in days, not weeks, and the more you harvest, the bushier it becomes. Sweet basil works for everything, though Thai basil adds a spicy kick to Asian dishes.
Mint: The Unstoppable Spreader
Mint’s reputation for aggressive growth makes it ideal for beginners who worry about killing plants. Spearmint works beautifully in iced tea and cocktails, while peppermint brings stronger flavor to desserts. One warning: mint will take over a garden bed, so containers are your friend here.
Parsley: The Patient Performer
Both curly and flat-leaf parsley tolerate beginner mistakes better than most herbs. Flat-leaf (Italian) parsley delivers more flavor for cooking, while curly varieties make pretty garnishes. It’s slower to germinate from seed than basil and other culinary herbs so starter plants save time.
Chives: Set It and Forget It
These slender green stalks require almost no attention once established. Snip them into scrambled eggs, baked potatoes, or cream cheese, and they’ll grow right back. Bonus: their purple flowers are edible and look charming in planters.
Oregano and Thyme: The Mediterranean Pair
Both prefer drier conditions than other herbs, making them perfect if you forget to water occasionally. Oregano brings bold flavor to Italian and Greek dishes, while thyme (common thyme is most versatile) works in everything from roasted vegetables to soups. They’re perennials in many climates, returning year after year.
| Herb | Difficulty | Sunlight | Water Needs | Kitchen Stars |
|---|---|---|---|---|
| Basil | Easy | 6+ hours | Keep moist | Pasta, pesto, salads |
| Mint | Very Easy | 4-6 hours | Moderate | Tea, cocktails, desserts |
| Parsley | Easy | 4-6 hours | Keep moist | Everything savory |
| Chives | Very Easy | 4-6 hours | Moderate | Eggs, potatoes, dips |
| Oregano | Easy | 6+ hours | Let dry between | Italian, Greek dishes |
| Thyme | Easy | 6+ hours | Let dry between | Roasts, soups, sauces |
Start with three to five herbs you’ll genuinely use in your cooking. There’s no point growing cilantro if you hate the taste, no matter how easy it is. Think about what you buy fresh at the grocery store or what dried herbs you reach for most often, those are your starter candidates.
Container vs. Garden Bed: Finding Your Perfect Setup
Getting Started with Container Herb Gardens
Containers are the secret weapon of herb gardening, they give you total control over soil quality, placement, and growing conditions. You can start with nearly anything that holds soil and has drainage: terracotta pots, plastic planters, wooden boxes, or even repurposed buckets and crates. The key is choosing containers at least 6-8 inches deep for most herbs, with basil and parsley appreciating closer to 10-12 inches.
When arranging multiple herbs in one planter, pair herbs with similar water needs together. Basil, parsley, and cilantro work well as a trio, while Mediterranean herbs like rosemary, thyme, and oregano make perfect companions since they all prefer drier conditions. Give each plant enough space, about 4-6 inches between them, so they don’t compete as they mature.
If you’re feeling uncertain about container gardening logistics, hands-on workshops offer invaluable guidance. The Herb Planting Workshop at Bialas Farms on May 9, 2026, for example, provided personal instruction through 3 sessions where beginners created their own planters with everything included. These family-friendly workshops take the guesswork out of your first planting experience and let you learn by doing alongside experienced gardeners.
Planning a Small Herb Garden Bed
If you have a yard or raised bed space, creating a dedicated herb garden gives your plants room to spread and makes garden maintenance straightforward. Start small, a 3×3 foot plot is plenty for beginners and can comfortably hold six to eight herb plants. You can always expand later once you see what you love growing.
Pick a spot that gets at least six hours of sun daily and has decent drainage. If your soil tends to stay soggy, mix in some compost to improve it. Mark out your space with stakes or stones, loosen the soil with a garden fork to about eight inches deep, and you’re ready to plant.
Think about how big each herb will get. Basil and parsley stay relatively compact, but mint spreads aggressively through underground runners (plant it in a sunken pot to contain it), and oregano forms wide mats over time. Place taller herbs like rosemary toward the back or center so they don’t shade shorter plants.
Basic companion planting makes your garden healthier without extra effort. Basil planted near tomatoes (if you’re adding a tomato plant) can help repel pests, and chives next to parsley work well together. Avoid planting fennel near most other herbs, as it doesn’t play nicely with neighbors.
Once your bed is planted, add a thin layer of mulch around the base of each plant to keep weeds down and moisture consistent. That’s it, you’ve created your first herb garden bed.
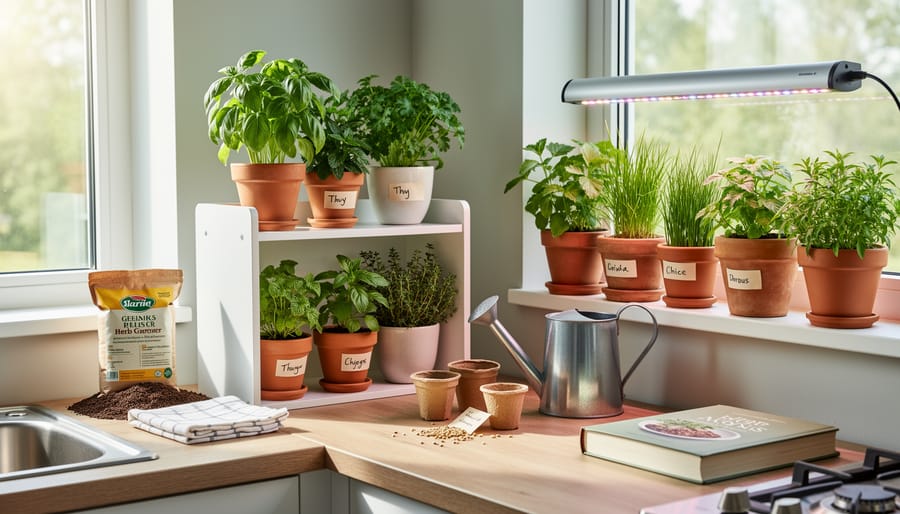
Essential Supplies You’ll Actually Need
You don’t need a garage full of equipment to start your herb garden. In fact, one of the best things about growing herbs is that the supply list stays refreshingly simple. Here’s what you’ll truly need and why each item matters.
Start with good potting mix if you’re growing in containers, or quality garden soil if you’re planting in the ground. Don’t underestimate this choice, how soil matters for drainage, nutrients, and root health, and herbs especially dislike sitting in heavy, waterlogged soil. Look for a well-draining mix labeled for vegetables or containers.
For containers, grab a few pots with drainage holes, plastic, terra cotta, or ceramic all work fine. A 10-inch diameter pot comfortably holds one large herb plant or two smaller ones. If you’re planting in the ground, a hand trowel and garden fork will help you prepare the bed and work in compost.
You’ll need something to water with, whether that’s a basic watering can or a hose with a gentle spray nozzle. Avoid blasting tender seedlings with full pressure.
Now, seeds or starter plants? For beginners, I’d lean toward starter plants. They give you a head start, skip the fussy germination stage, and you’ll harvest sooner, think weeks instead of months. Seeds work great if you’re patient and want more variety, but starter plants from a local nursery or farm practically guarantee success. Many workshops, like the herb planting session at Bialas Farms this past May, provide everything including starter plants and instruction, which takes the guesswork out completely for first-timers.
That’s honestly it. Keep it simple, invest in decent soil, and you’re ready to plant.
Planting Your Herbs: Step-by-Step
You’ve got your supplies, your herbs, and you’re ready to get your hands dirty. This is the fun part, the moment you actually put plants in soil and officially become an herb gardener. I promise it’s simpler than you think, and there’s real satisfaction in this process.
Start by getting your workspace ready. Lay down newspaper or a tarp if you’re working indoors, and gather everything within arm’s reach. If you’re using containers, make sure they have drainage holes at the bottom. No holes? Grab a drill and make a few, or choose different containers. Standing water will drown your herbs faster than anything else.
Fill your container or prepared bed with quality potting mix, leaving about an inch of space at the top. Give the soil a good fluff with your hands to break up any clumps. If you’re planting starter plants, water the herbs while they’re still in their nursery pots and let them drain for a few minutes. This helps the root ball hold together when you transplant.
Here’s how to plant them properly:
- Dig a hole slightly larger than your herb’s root ball, about the same depth as the nursery pot.
- Gently squeeze the nursery pot and tip the herb out, supporting the stem base with your fingers.
- If roots are circling tightly, use your fingers to gently tease them loose at the bottom.
- Place the herb in the hole so the top of the root ball sits level with the soil surface, not deeper, not sticking up.
- Fill in around the roots with soil, pressing gently but firmly to eliminate air pockets.
- Water thoroughly until you see it drain from the bottom, settling the soil around the roots.
For seeds, follow the packet instructions for depth (most herb seeds need only a quarter-inch of soil over them) and spacing. Keep the soil consistently moist until you see sprouts.
After that first good watering, give your newly planted herbs a day to settle in before moving them to their permanent sunny spot. You’ve just planted your first herb garden, and honestly, the hardest part is behind you.
Sunlight, Water, and Location Basics
Finding the Right Spot for Your Herbs
Walk around your home with fresh eyes and you’ll probably spot more herb-friendly locations than you expect. Most herbs need 6 to 8 hours of direct sunlight daily, so south-facing windowsills are prime real estate if you grow herbs indoors. Notice where sunlight pools throughout the day, that sunny kitchen counter, the bright spot by the patio door, or that balcony corner that catches morning rays all make excellent herb homes.
Outside, observe your yard for a few days. That spot near the back door gets full afternoon sun? Perfect for basil and thyme. Got a partly shaded area under a tree? Parsley and chives will be happy there with their 4 to 6 hours of gentler light.
Don’t overthink it. Start where it’s convenient, you’ll actually use herbs you can reach easily while cooking. My first herb garden lived on a wobbly plant stand by my kitchen window, and I learned more from that imperfect setup than any book could’ve taught me. If your first spot doesn’t work out, containers make it easy to move things around until you find the sweet spot.
Watering Without Overdoing It
The finger test is your best friend here. Stick your finger about an inch into the soil, if it feels dry at that depth, it’s time to water. If it’s still moist, wait another day or two. Most herbs would rather be slightly thirsty than sitting in soggy soil.
When you do water, do it thoroughly until you see water draining from the bottom of the container or soaking in around the plant’s base. Then leave it alone until the soil dries out again. This deep-then-dry approach encourages strong root growth, whereas frequent shallow watering keeps roots weak and near the surface.
Overwatering is the number one killer of beginner herb gardens, and it’s usually driven by anxiety rather than the plant’s actual needs. Herbs like basil, oregano, and thyme evolved in Mediterranean climates where rain isn’t constant. They’re built to handle some dryness between drinks. If leaves start drooping slightly in the afternoon sun but perk up by evening, that’s normal, not a cry for water. Yellow leaves and mushy stems, however, usually mean you’ve been too generous with the watering can.
Check your containers every couple of days rather than watering on a rigid schedule. Summer heat means more frequent watering, while cooler spring and fall days require less.
Caring for Your Herbs Through the Growing Season
Once your herbs are happily settled in their new home, a simple care routine will keep them thriving all season long. The good news? Herbs are remarkably forgiving and don’t demand much fuss.
Feed Them (But Not Too Much)
Most herbs aren’t heavy feeders. If you planted in quality potting mix or amended garden soil, your herbs will do fine for the first month or so without additional nutrients. After that, a light feeding every four to six weeks keeps them productive. For containers, use a diluted liquid fertilizer at half the recommended strength, think of it as a gentle boost rather than a feast. Garden bed herbs usually need even less, especially if you added compost at planting time. Overfertilizing actually makes some herbs like basil grow too fast with less flavor, so restraint pays off here.
Prune to Encourage Bushier Growth
Here’s where you’ll see real magic happen. Pinching off the top few inches of your herbs, especially basil, mint, and oregano, encourages them to branch out instead of growing tall and leggy. When your basil reaches about six inches tall, pinch off the top set of leaves just above where two side shoots are forming. Those side shoots will grow into two new stems, essentially doubling your plant. Do this regularly throughout the season, and you’ll have a bushy, productive herb instead of a single spindly stalk trying to flower. Don’t be shy about harvesting either, the more you snip, the more they’ll grow back.
Watch for Common Issues
Most herb problems are easy to spot and fix early. If leaves turn yellow, you’re likely overwatering or the soil drainage needs improvement. Pale, slow growth usually means the plant needs more light or a bit of fertilizer. Occasionally you might notice small pests like aphids clustering on new growth, catch them early with simple aphid prevention techniques, and you’ll avoid bigger headaches later. Check your plants every few days when you water, and you’ll catch any issues while they’re still minor.
The 2026 growing season has been kind to herbs in most regions, with steady spring warmth helping them establish quickly. Your herbs will naturally slow down as temperatures peak in midsummer, so don’t panic if growth seems to plateau, that’s normal. Just keep watering consistently and harvesting regularly, and they’ll bounce back as things cool down.
Harvesting and Using Your Fresh Herbs
The best moment in herb gardening? Walking outside, snipping a handful of fresh basil, and tossing it into your dinner five minutes later. That garden-to-table connection makes all the watering and waiting worthwhile.
Harvest herbs in the morning after the dew dries but before the sun gets hot, that’s when their essential oils are most concentrated and flavorful. Use clean scissors or pruning shears and cut stems just above a set of leaves. For bushy herbs like basil and mint, pinch off the top few inches to encourage branching. Never strip more than one-third of the plant at once; taking too much weakens it and slows regrowth.
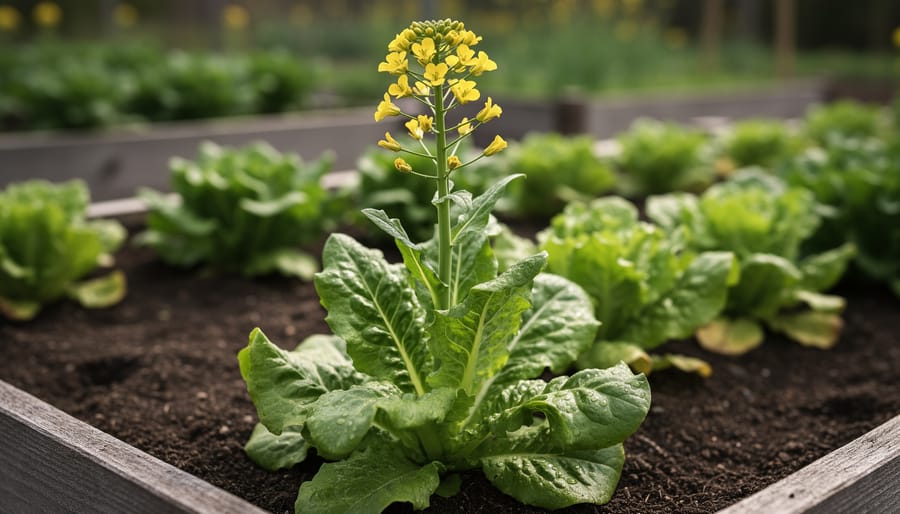
Regular harvesting actually helps your herbs thrive. When you cut them back, they respond by growing fuller and bushier instead of tall and leggy. Basil that’s harvested often won’t bolt to seed as quickly, giving you weeks more of tender leaves.
Use your harvest immediately for maximum flavor. Tear fresh basil over pasta or pizza, snip chives onto baked potatoes, muddle mint into summer drinks, or toss parsley into salads and grain bowls. Even beginners quickly realize that fresh herbs transform simple cooking into something restaurant-quality.
When your plants produce more than you can use fresh, preserve the surplus. You can dry basil and other herbs for your pantry, freeze chopped herbs in olive oil using ice cube trays, or make pestos and herb butters to stash in the freezer. Nothing beats knowing exactly where your seasonings came from, and that you grew them yourself.
Learning More: Workshops and Community Resources
Sometimes the best way to learn is by getting your hands dirty alongside someone who knows what they’re doing. Local herb gardening workshops offer exactly that, real-time guidance, the chance to ask questions as they pop up, and the satisfaction of leaving with something you’ve planted yourself.
The Herb Planting Workshop at Bialas Farms on May 9, 2026, exemplifies what makes these events so valuable for beginners. Organized by thefarmgirlcooks, it featured three sessions where participants received personal instruction and all the materials needed to create their own herb planters. You didn’t need to bring anything except curiosity. The workshop was designed to be family-friendly too, welcoming well-behaved kids who wanted to plant something special for mom.
These hands-on experiences demystify the process in ways that reading alone can’t. You see exactly how deep to plant, how firmly to press the soil, and what “moist but not soggy” actually looks like. Plus, you meet other beginners who share your excitement and nervousness, which makes the whole journey feel less isolating.
Beyond formal workshops, look for community gardens, master gardener programs, and local gardening clubs. Many offer mentorship or open garden days where you can observe experienced herb gardeners at work. Your local nursery staff can also be surprisingly generous with advice if you visit during quieter hours. The herb gardening community tends to be welcoming and eager to share what they’ve learned through trial and error, so don’t hesitate to reach out and connect.
You’ve taken the first step into herb gardening, and that’s something to celebrate. Your first basil plant might bolt, your mint might take over, or you might forget to water your parsley for a week, and that’s completely normal. Every experienced gardener has killed plants, overwatered containers, and watched herbs go to seed unexpectedly. The difference is they kept going, and so will you.
Start with just a few herbs this season. Plant them, water them, snip from them, and notice what works in your space. The beauty of herb gardening is that it meets you where you are, whether that’s a sunny windowsill or a backyard corner. Each time you harvest fresh leaves for dinner, you’ll feel that connection between your hands and your plate grow stronger.
As you gain confidence with your first herbs, there’s a whole world of gardening waiting for you. Browse more beginner-friendly guides, seasonal tips, and garden inspiration right here on Gardenoholic. Your herb garden is just the beginning of something wonderful.